Branding
Branding lets you add your organisation's logo so it appears across dashboards, chart exports, and PDFs.
Accessing Branding
- Select Settings in the left menu.
- Select Branding.
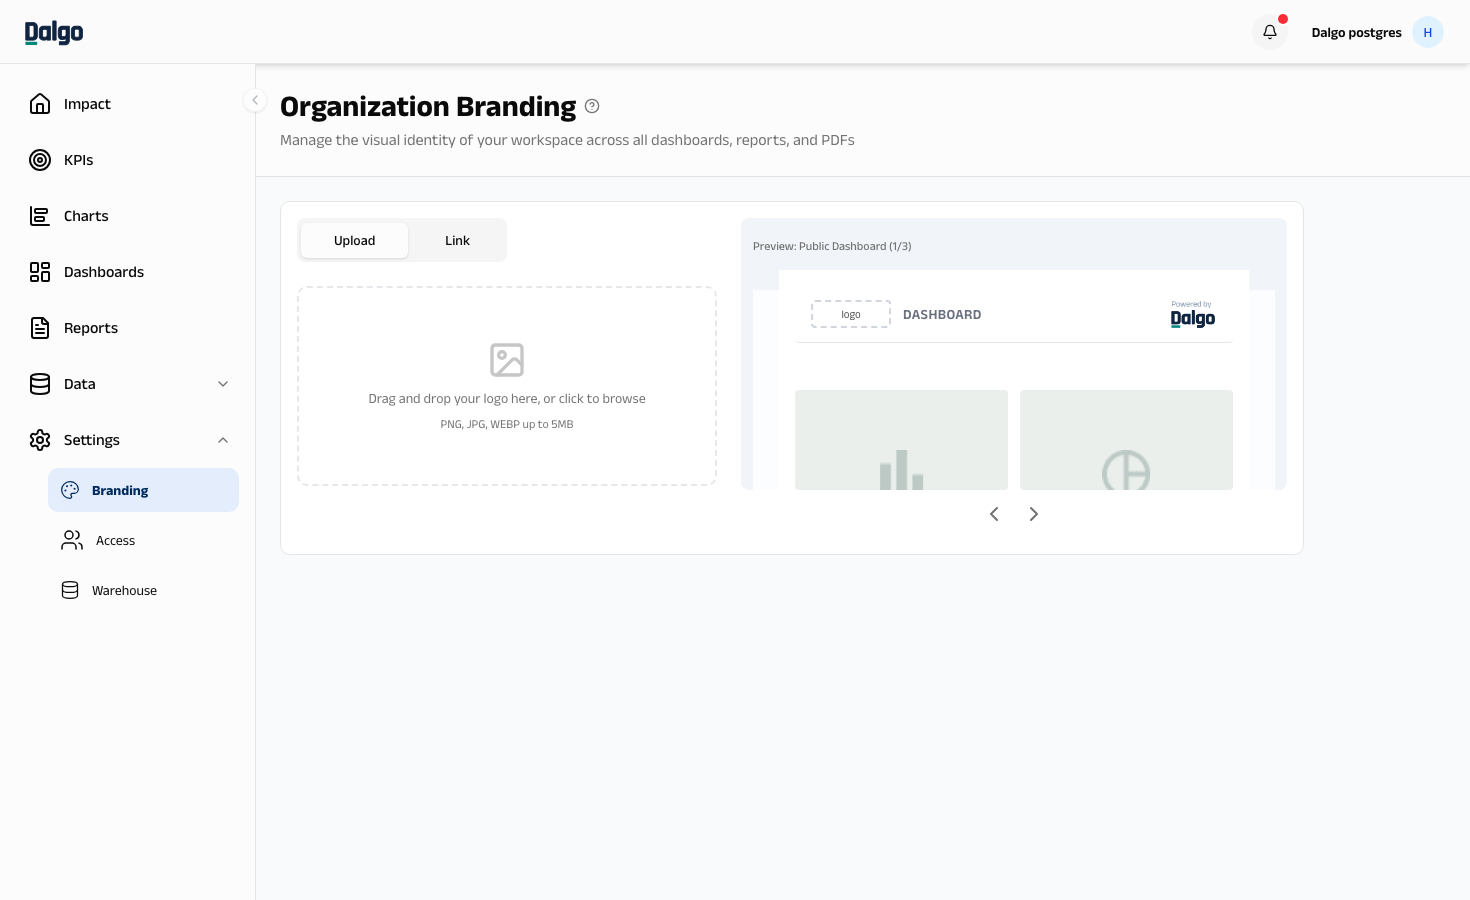
Setting your logo
You can set your logo two ways — by uploading a file, or by linking to an image already hosted online. You can only use one method at a time; to switch, remove your current logo first.
Uploading a file
- On the Upload tab, drag and drop an image onto the upload area, or select it to browse your files.
- Supported formats are PNG, JPG, WEBP, and GIF, up to 5MB.
- Select Save to confirm.
Linking an image
- Select the Link tab.
- Enter the URL of an image hosted online.
- Select Save to confirm.
Updating or removing your logo
Once a logo is set, the buttons under the upload area change:
- Select Update Image to replace the current logo with a new one.
- Select Remove to delete the logo entirely.
Where your logo appears
Once saved, your logo shows up automatically across the platform:
- The app header, on every page
- Dashboard and chart exports, in PNG and PDF format
- Fullscreen chart view
- Public dashboard and report links, alongside "Powered by Dalgo"
The preview panel on the Branding page shows a live example of how your logo looks in context before you save.